Before & after
Before & After: Painting and Handyman Work
Drag the slider on each one. The illustrated examples show the problems we fix most often in Fairfield County homes, and exactly what each job involves.
Painting
Painting transformations

 BeforeAfter
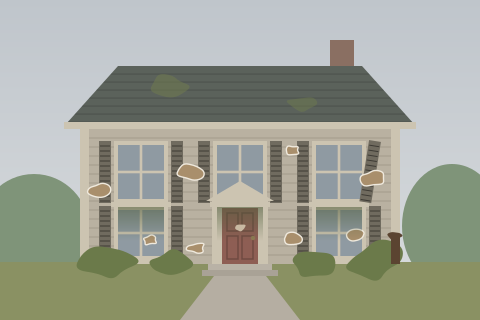
Exterior repaint on a clapboard colonial
Peeling, mildewed siding and a rotted corner board, turned into a crisp New England color scheme.- Soft wash to kill mildew
- Replace rotted corner board
- Scrape, sand & spot-prime bare wood
- Caulk open joints
- Two finish coats on body, trim, shutters & door

 BeforeAfter
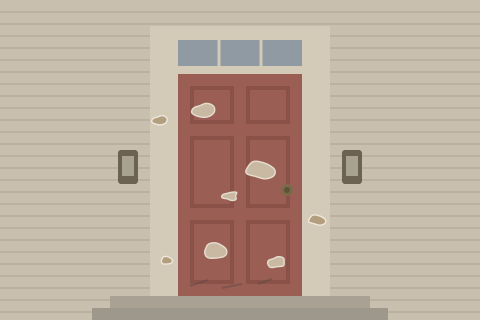
Front door & entry refresh
A sun-faded, peeling door repainted in a deep sapphire gloss with new brass hardware.- Remove hardware, sand & de-gloss
- Spot-prime bare wood
- Two coats of exterior enamel
- Paint casing & trim
- Install new handleset & kick plate

 BeforeAfter
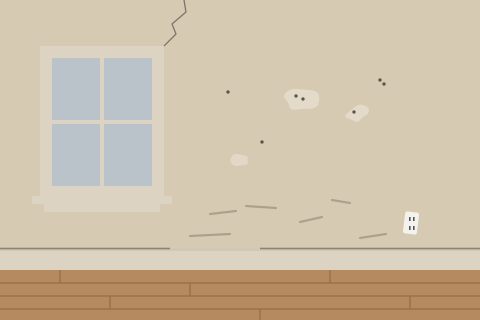
Living room walls & trim
Scuffs, nail holes and a ceiling-corner crack repaired, then painted a calm blue-gray with bright white trim.- Fill nail holes & tape the crack
- Sand and spot-prime patches
- Caulk baseboard gaps
- Two coats on walls
- Semi-gloss on trim & window
 BeforeAfter
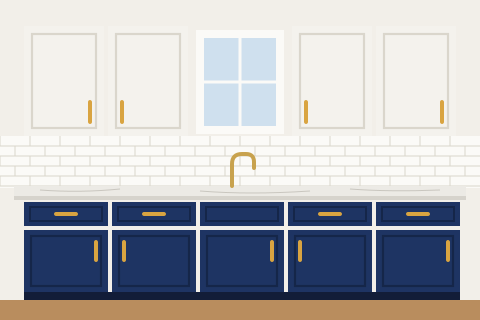
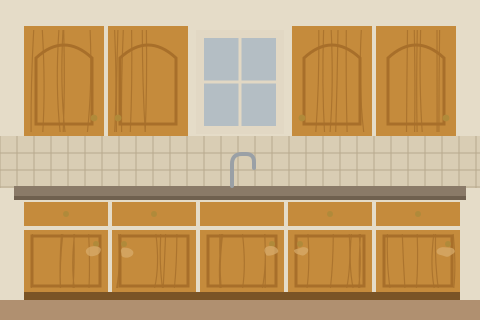
Kitchen cabinet painting
Dated honey-oak cabinets transformed into white uppers and a navy base with brass pulls — no remodel needed.- Remove & label doors and drawers
- Degrease and scuff-sand
- Fill oak grain (optional)
- Bonding primer
- Spray cabinet-grade enamel
- Install new brass hardware
 BeforeAfter
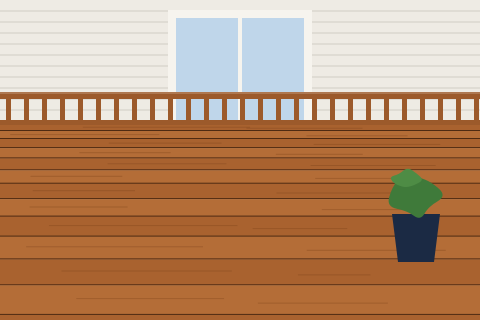
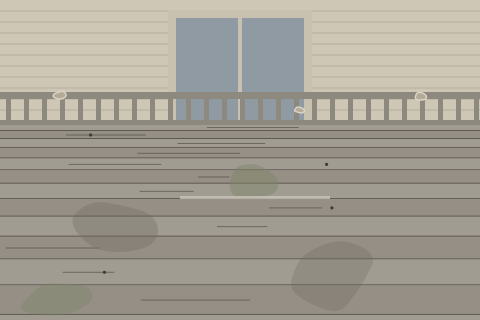
Deck cleaning & restain
Gray, mildewed boards washed, brightened and protected with a semi-transparent cedar stain.- Wash & treat mildew
- Wood brightener
- Set popped nails, replace bad boards
- Light sanding
- Semi-transparent stain on boards & railings
Handyman
Handyman repairs

 BeforeAfter
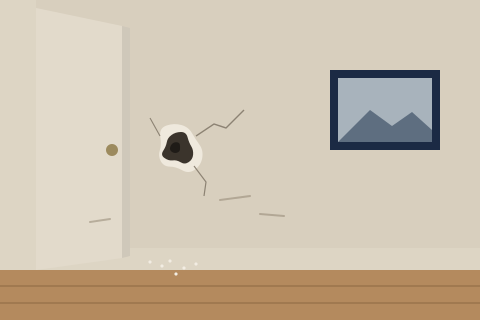
Doorknob hole in drywall
A doorknob hole patched so it disappears, painted to match, plus a wall bumper so it doesn’t happen again.- Cut back to solid drywall
- Install backing & patch
- Tape, mud & feather out
- Prime & paint to match
- Add wall bumper / door stop

 BeforeAfter
TV mounting & cable cleanup
A TV moved from a wobbly stand to a secure wall mount, cables hidden, with a floating shelf for the soundbar.- Locate studs (or masonry anchors)
- Install rated mount at eye level
- Hide cables in an in-wall kit or raceway
- Install floating shelf
- Hang art & patch old holes

 BeforeAfter
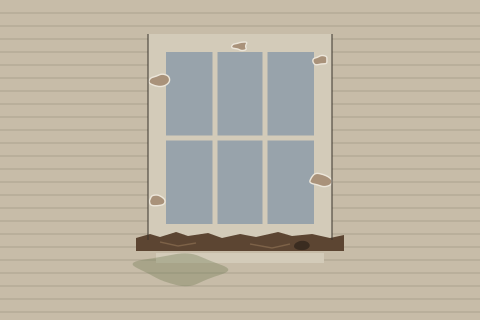
Rotted window sill replacement
Soft, rotted sill and peeling casing replaced with rot-resistant material, sealed and painted.- Remove rotted sill
- Check framing for water damage
- Install new sill (PVC or treated)
- Caulk & seal joints
- Prime & paint sill, casing and siding

 BeforeAfter
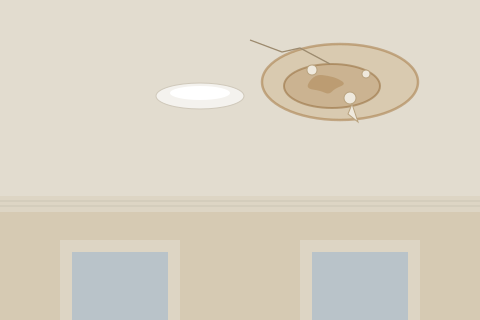
Ceiling water stain after a leak
After the leak was fixed, bubbled paint scraped, the stain sealed with stain-blocking primer and the ceiling repainted.- Confirm the leak is fixed & area is dry
- Scrape bubbled paint
- Patch & sand
- Stain-blocking primer
- Repaint the full ceiling
Illustrations show typical jobs and are not photos of specific homes. Photos from our own completed projects are added to this page as jobs wrap up.
Want results like these?
Call or text (475) 689-9501 — or send a few photos and we’ll get back to you fast. Evening and weekend appointments available.